
Cozy Sage Waffle Stitch Pillow Crochet Pattern
Introduction
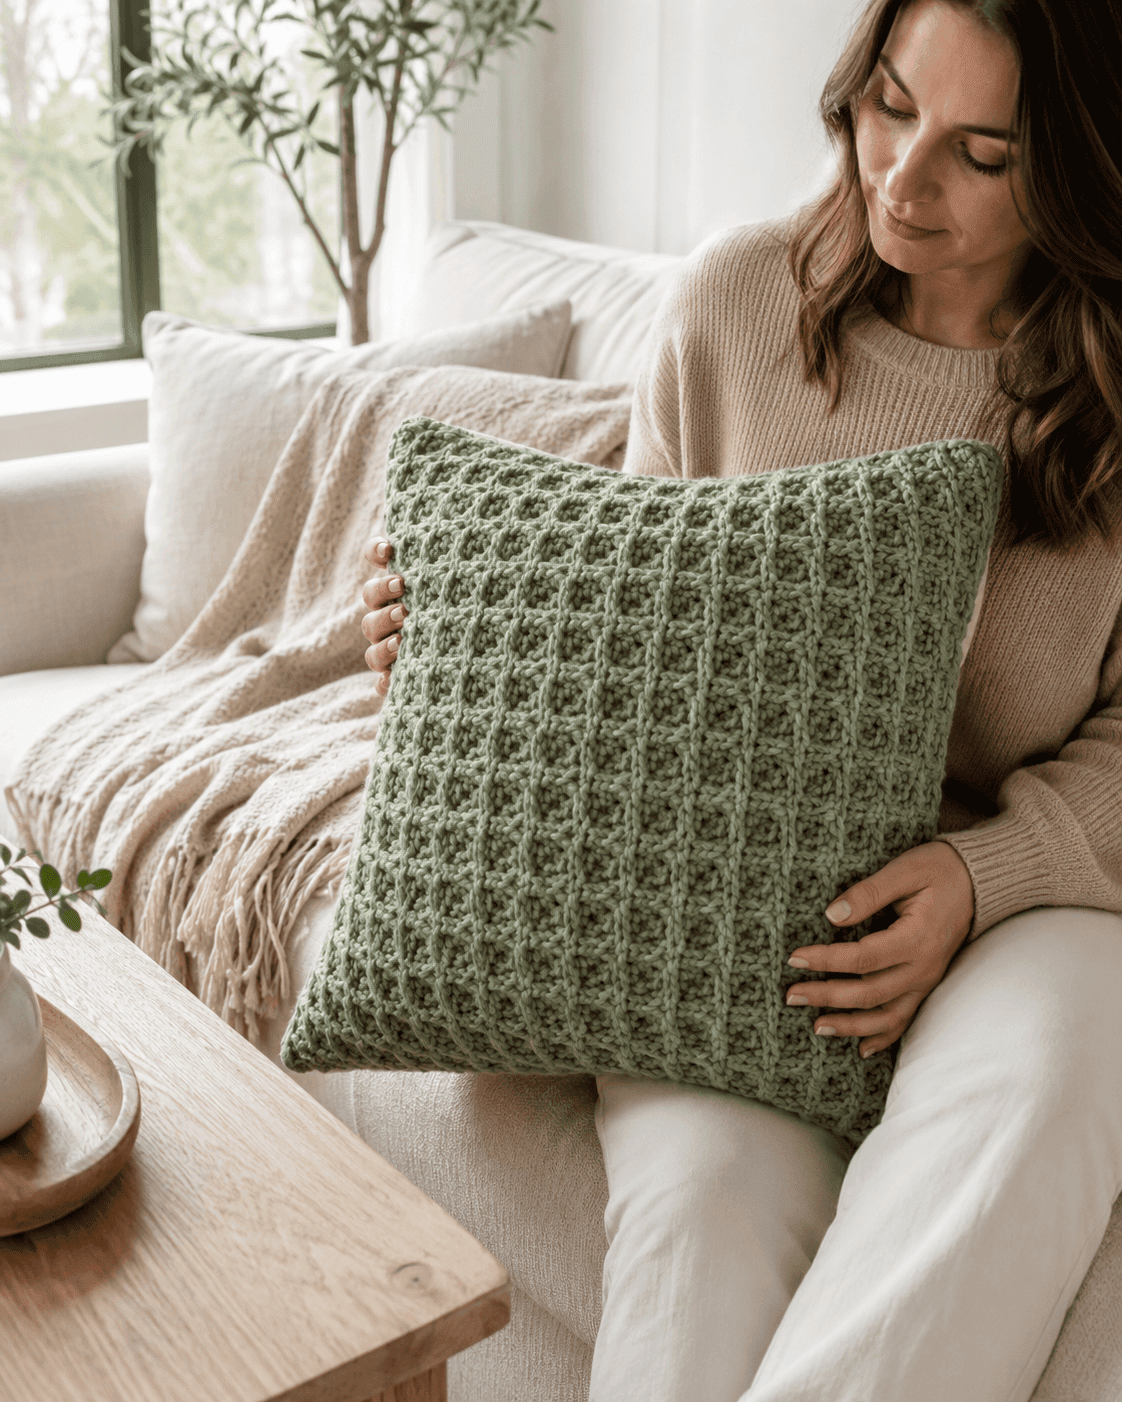
If you love cozy handmade home decor, this waffle stitch pillow crochet pattern is the perfect weekend project. In this tutorial, you’ll learn how to create a beautifully textured crochet pillow cover using sage green and soft cream bulky cotton-blend yarn.
This project is ideal for advanced beginners who want to practice front post double crochet stitches while creating something practical and stylish. The waffle texture adds warmth and softness, making this pillow perfect for living rooms, bedrooms, or thoughtful handmade gifts.
The finished pillow has a timeless neutral aesthetic that works beautifully with modern farmhouse, Scandinavian, and cozy cottage interiors.
Frequently Asked Questions
Is this crochet pillow beginner friendly?
Yes. While the waffle stitch looks advanced, it uses simple combinations of double crochet and front post double crochet stitches. Confident beginners can absolutely complete this project.
What yarn works best for waffle stitch pillows?
Bulky cotton-blend yarn works best because it creates clear stitch definition while keeping the pillow soft and durable.
How long does it take to make?
Most crocheters can complete the pillow cover in 6 to 8 hours depending on their experience level and crochet speed.
What size is the finished pillow?
The finished pillow cover measures approximately 18 x 18 inches and fits a standard pillow insert.
Can I use different colors?
Absolutely. However, sage green and soft cream create a calm, cozy, Pinterest-friendly aesthetic that highlights the waffle texture beautifully.
Materials Needed
Yarn
- Bulky weight #5 cotton-blend yarn
- Main color: Sage green
- Secondary color: Soft cream
The cotton blend helps the waffle texture remain crisp while still feeling soft and comfortable.
Crochet Hook
- 6.0 mm crochet hook
This hook size creates a thick, plush texture without making the stitches too tight.
Additional Supplies
- Scissors
- Tapestry needle
- 4 stitch markers
- Measuring tape
- 18 x 18 inch pillow insert
These tools help maintain even sizing and create clean finishing details.
Skill Level
Difficulty
Advanced Beginner to Intermediate
Estimated Time
6 to 8 hours
Finished Dimensions
18 x 18 inches
Step-by-Step Tutorial
Step 1 — Create the Foundation Chain
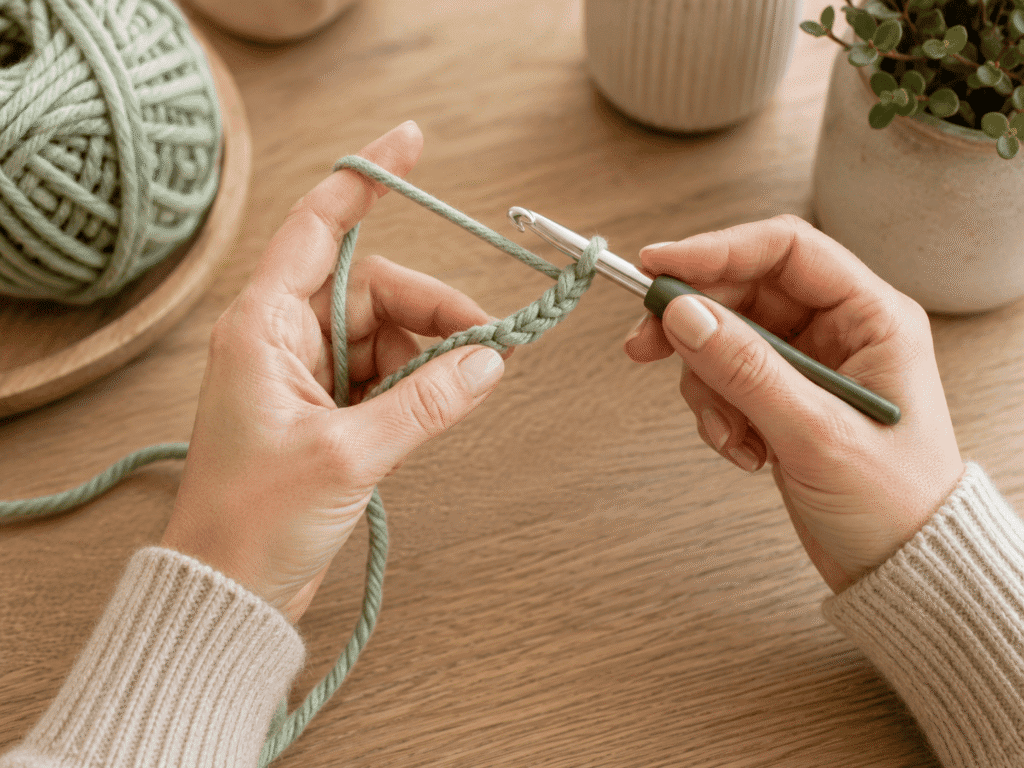
Using the sage green bulky cotton-blend yarn and a 6.0 mm crochet hook, create a foundation chain wide enough to measure approximately 18 inches.
Be careful not to crochet too tightly. A relaxed foundation chain helps the waffle texture remain soft and flexible.
Work one row of double crochet stitches across the chain to create the base row.
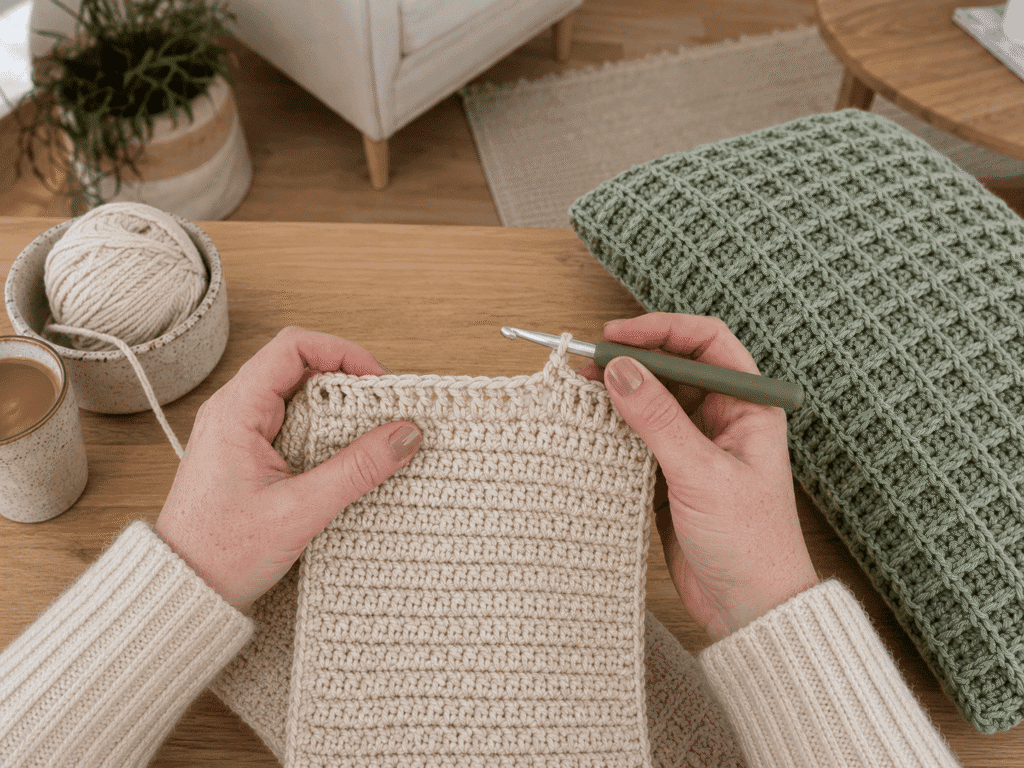
Step 2 — Begin the Waffle Stitch Texture
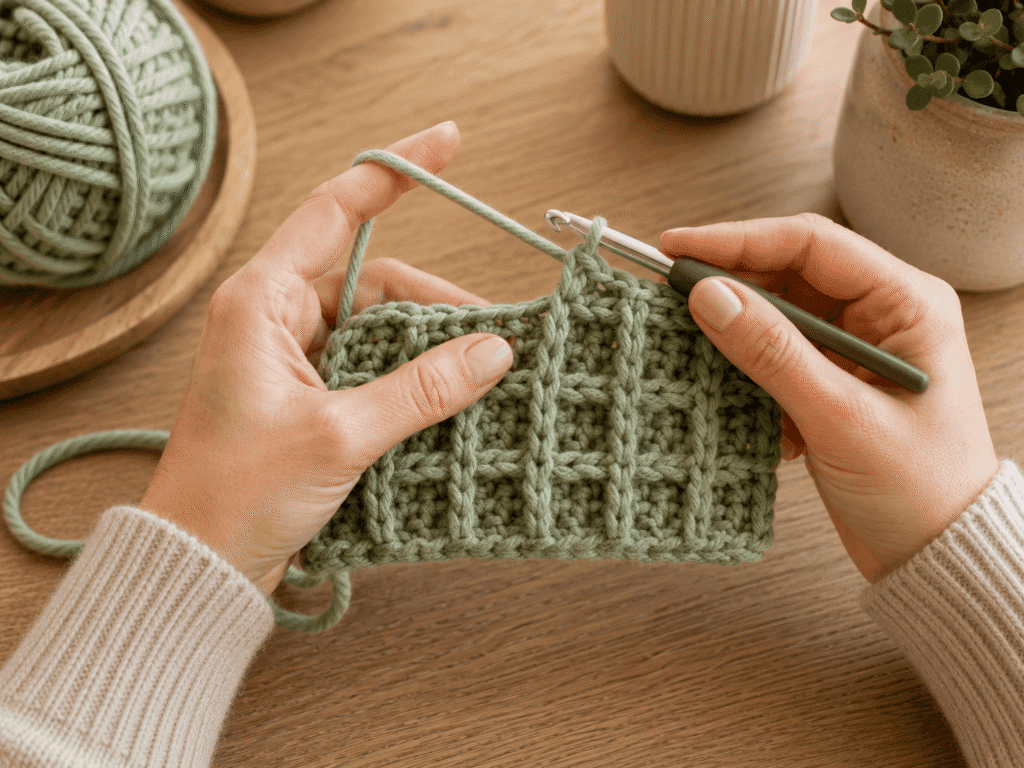
Start the waffle stitch pattern by alternating double crochet stitches with front post double crochet stitches.
The raised front post stitches create the signature waffle texture. Continue using the sage green yarn while maintaining even stitch tension throughout the row.
You should now begin seeing small textured squares forming across the fabric.
Step 3 — Continue Building the Pillow Front Panel
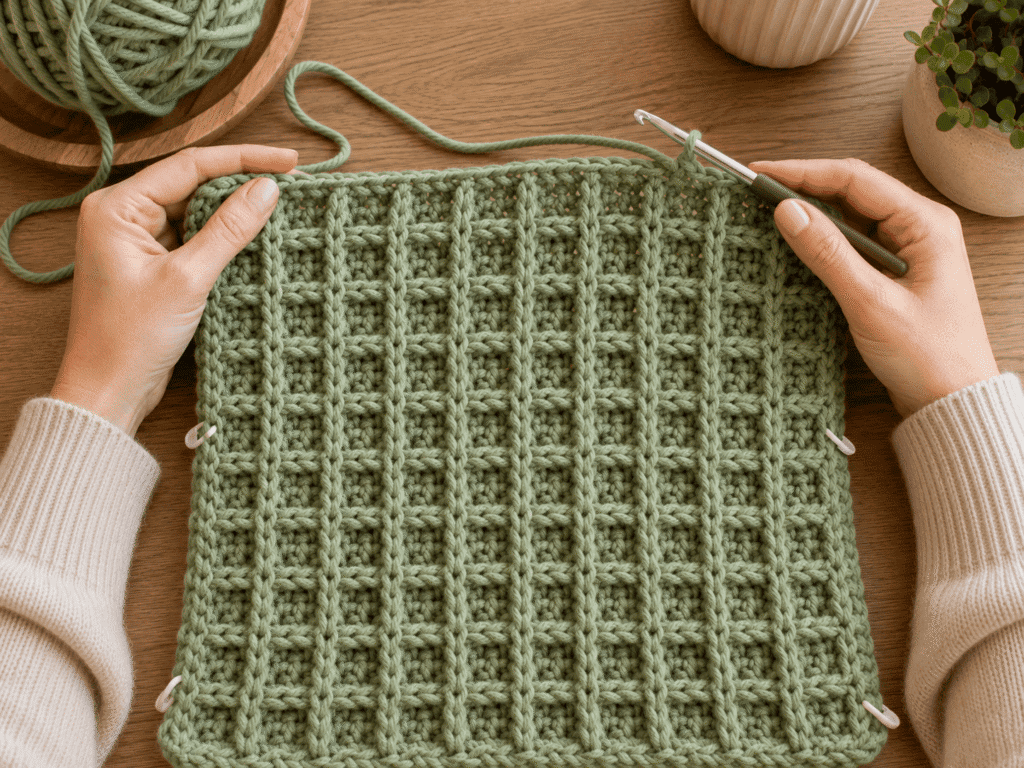
Repeat the waffle stitch pattern row by row using the same sage green yarn and 6.0 mm hook.
As the texture grows, the fabric becomes thick, plush, and dimensional. Measure regularly to ensure the panel remains square and reaches approximately 18 inches tall.
Use stitch markers if needed to help maintain straight edges.
Step 4 — Crochet the Back Panel
Using the soft cream bulky cotton-blend yarn, crochet a simpler back panel using standard double crochet rows.
The cream backing creates a soft contrast against the textured sage green front panel while keeping the design modern and neutral.
Continue until the back panel matches the front panel dimensions.
Step 5 — Join the Panels Together
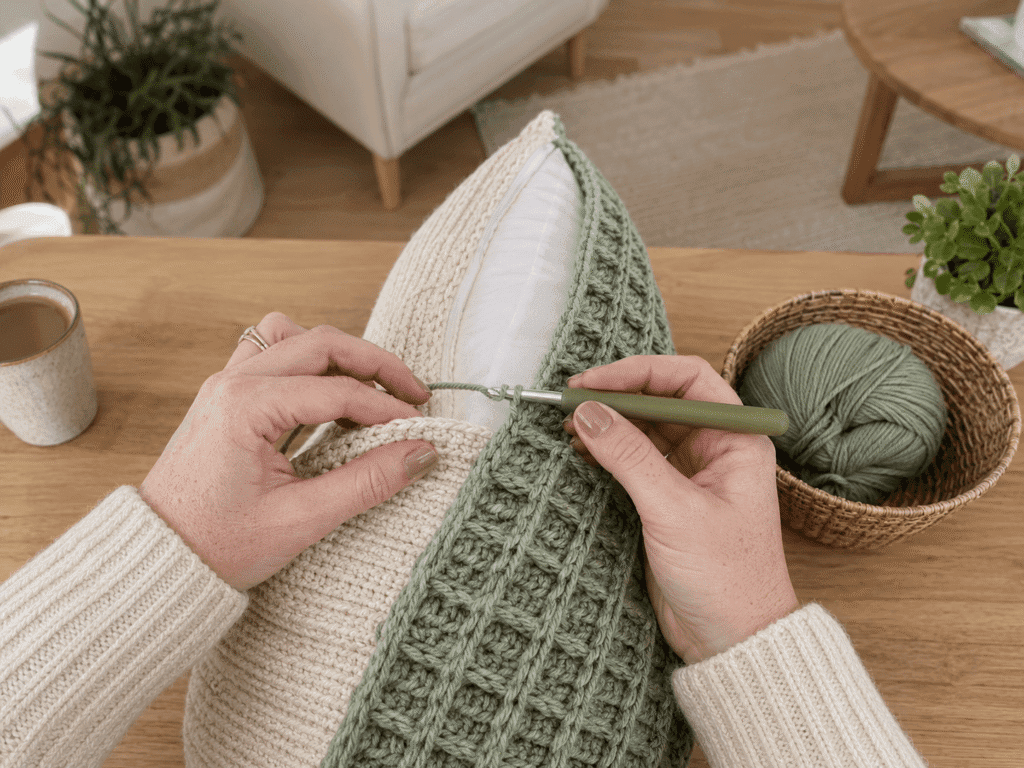
Place the sage green waffle stitch front panel and the cream back panel together with the correct sides facing outward.
Using the sage green yarn and 6.0 mm hook, single crochet evenly around three sides of the pillow cover.
Insert the pillow form before closing the final side.
Step 6 — Finish the Edges
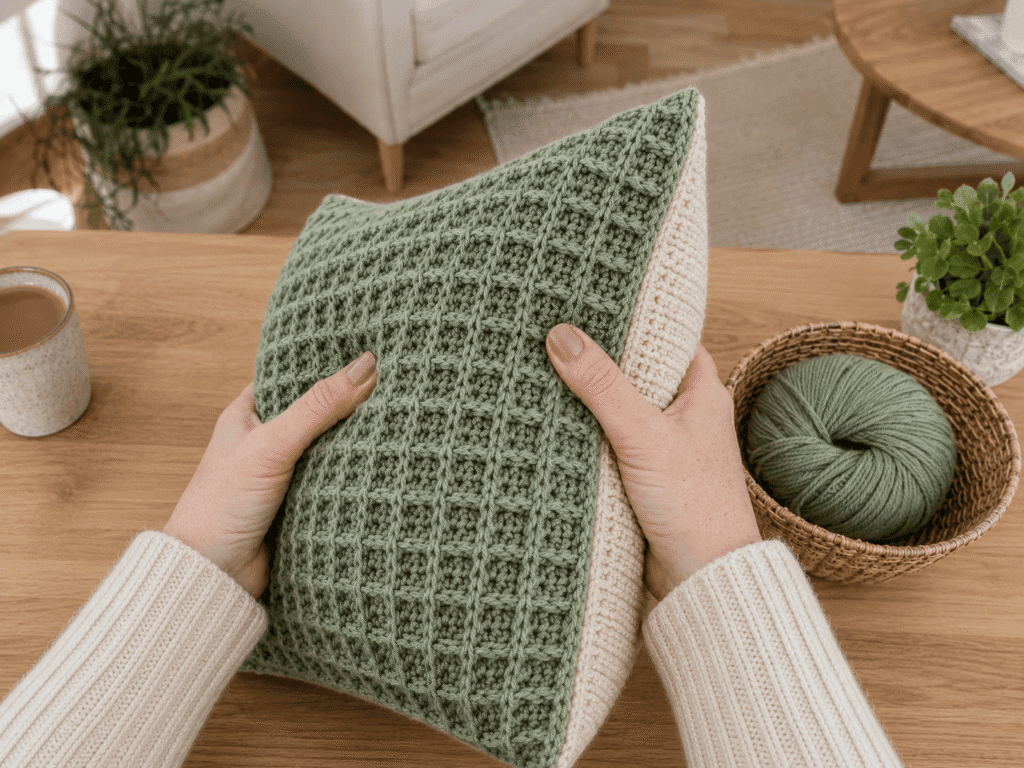
Complete the final seam and weave in all loose yarn ends using a tapestry needle.
Lightly shape the pillow with your hands to smooth the corners and highlight the waffle texture.
The finished pillow should feel thick, soft, cozy, and beautifully textured.
Helpful Tips
1. Use Loose Tension
Tight stitches can flatten the waffle texture. Keep your tension relaxed for maximum dimension.
2. Count Stitches Frequently
Waffle stitch patterns are easier to maintain when stitch counts remain consistent.
3. Use Quality Bulky Yarn
Bulky cotton-blend yarn creates cleaner texture and better stitch visibility.
4. Block the Panels Lightly
Gentle blocking helps square the pillow pieces before assembly.
5. Use a Neutral Photography Space
Natural lighting and neutral decor make textured crochet projects appear more premium and Pinterest-friendly.
Common Mistakes To Avoid
1. Crocheting Too Tightly
Tight stitches reduce the softness of the waffle texture.
2. Skipping Stitch Counts
Missing stitches can distort the pillow shape.
3. Using Thin Yarn
Thin yarn will not showcase the waffle texture properly.
4. Uneven Panel Sizes
Always measure both panels before joining them together.
5. Forgetting to Weave in Ends Securely
Loose ends may unravel with regular pillow use.
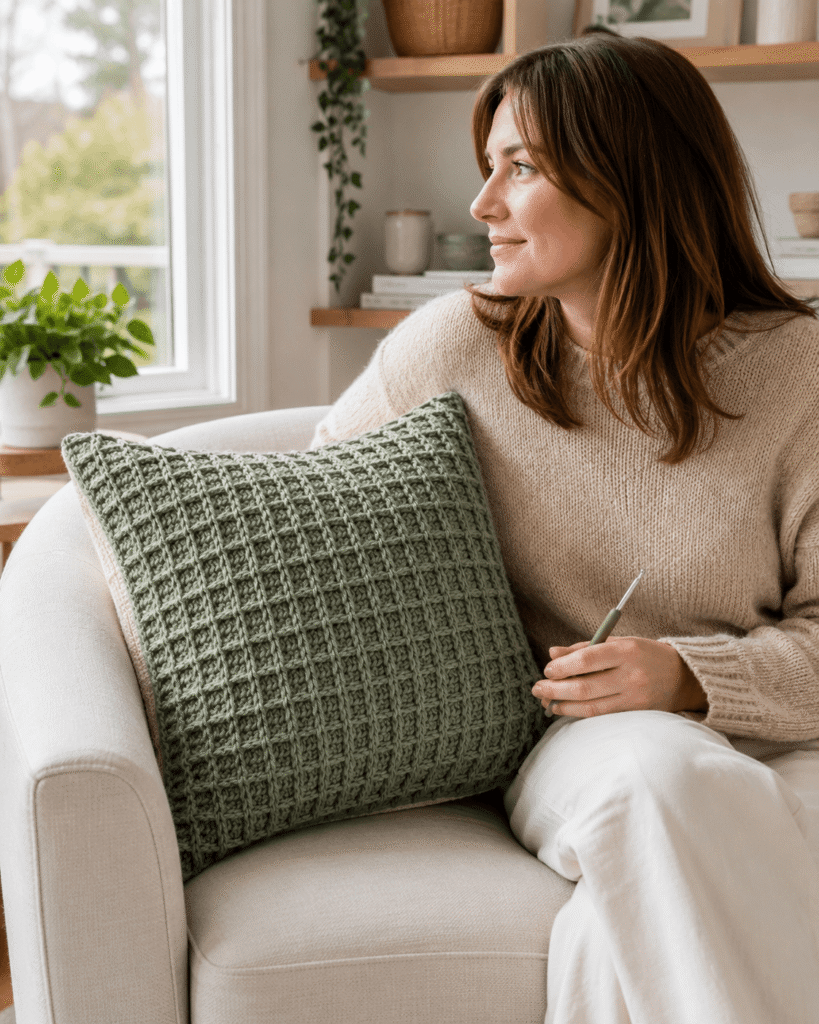
Final Thoughts
This cozy waffle stitch pillow is a beautiful way to add handmade warmth and texture to your home decor. The sage green and cream color palette feels timeless, calming, and perfect for modern interiors.
Once you master the waffle stitch, you can easily use this technique for blankets, bags, and other textured crochet projects.
Save This Pattern For Later
Love this cozy crochet project? Save this waffle stitch pillow pattern to your Pinterest crochet board so you can come back to it anytime. Share it with fellow crochet lovers and inspire more handmade home decor creations.