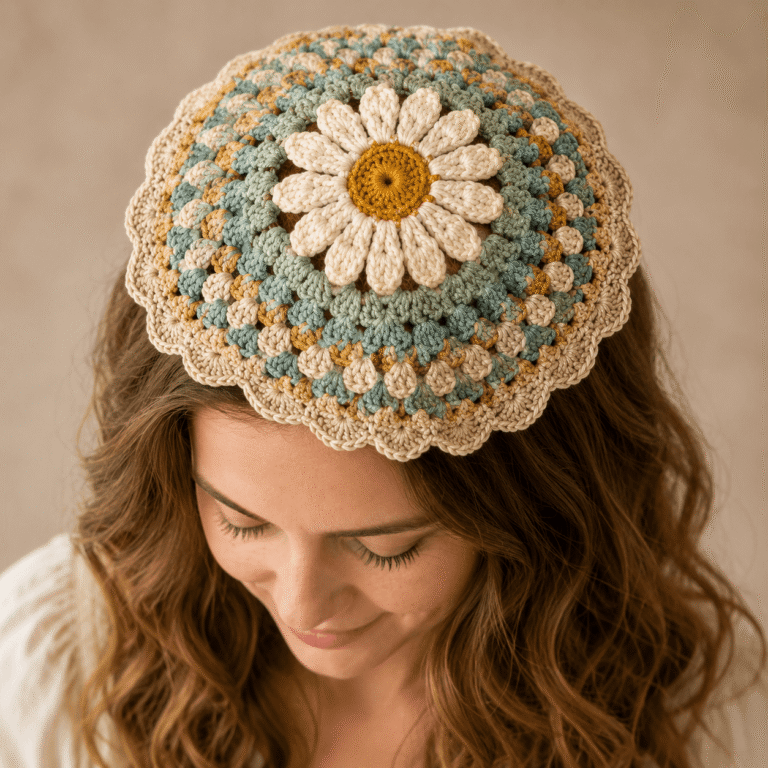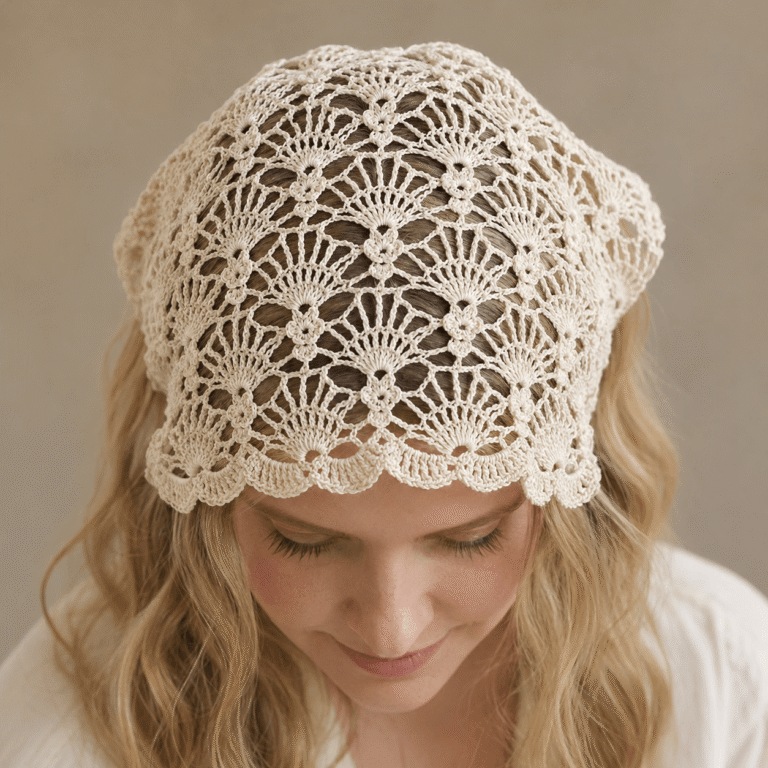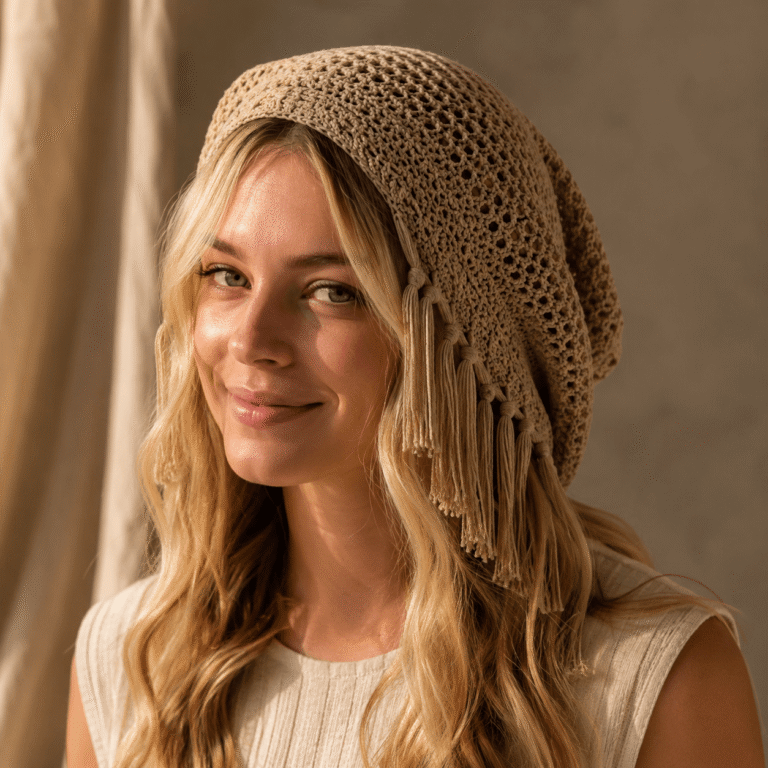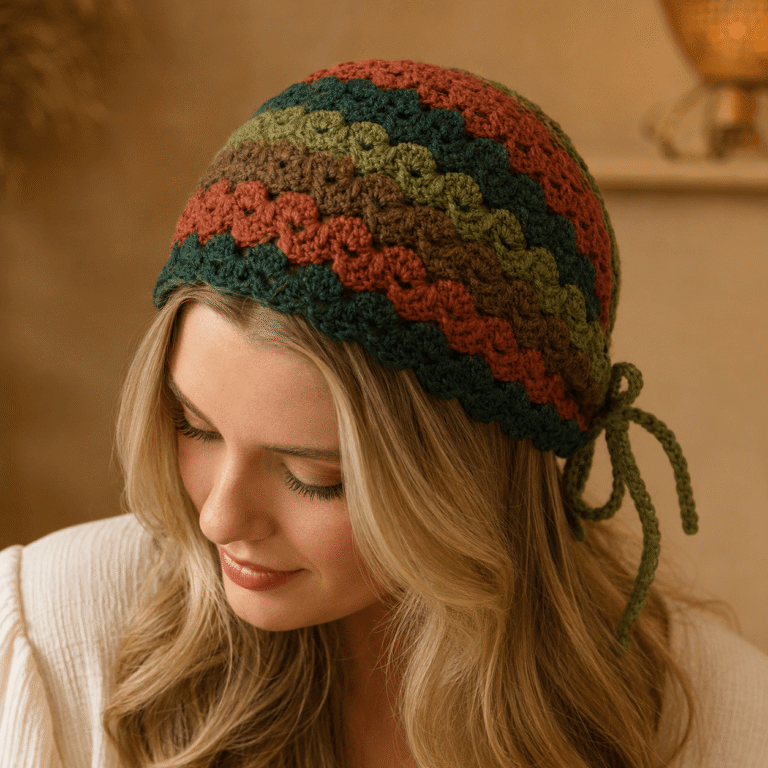
Crochet Leafling Bandana Scarf
The Most Beautiful Crochet Bandana You Will Ever Wear — Leaf Lace Head Scarf Pattern
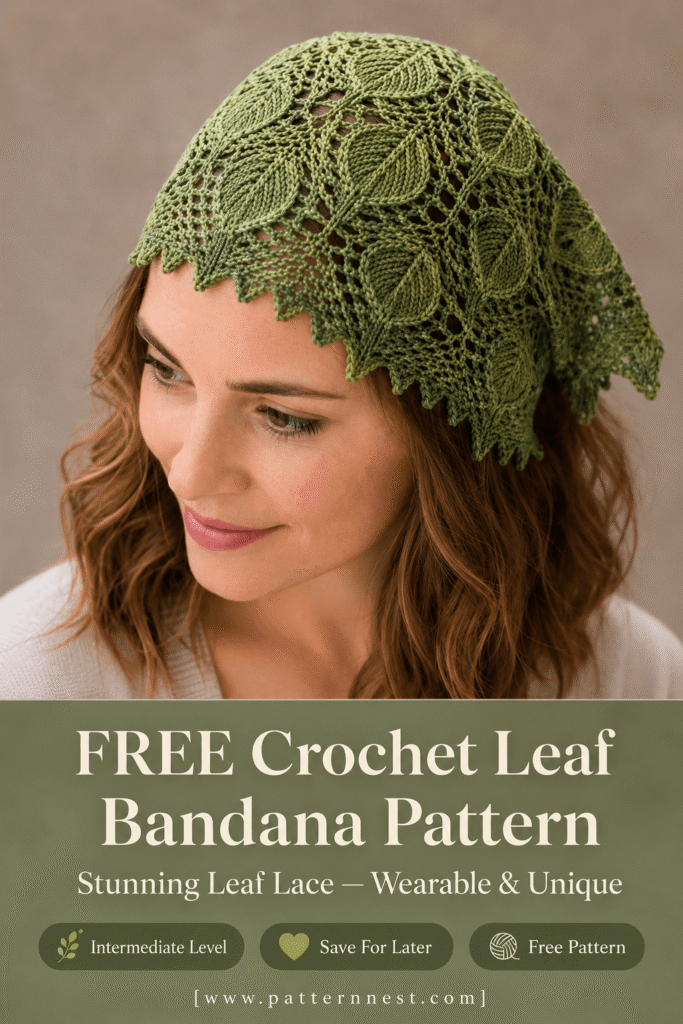
There are crochet projects that make people stop mid-conversation and say — wait, you made that? The Leafling Bandana Scarf is that project. Worked in a stunning leaf lace stitch pattern with a natural leaf-point picot hem, this bandana scarf looks like something you would find in a high-end boutique. But it is completely free, and with the right yarn and a little patience, entirely achievable.
This pattern creates a triangular lace bandana worked in a beautiful Sage Green tonal yarn — a softly shifting blend of sage, moss, olive, and warm golden green that makes the leaf motifs look almost like real foliage pressed into fabric. The leaf lace stitch creates raised, dimensional leaf shapes surrounded by open chain-space lacework, and the finished lower hem follows the natural leaf point silhouette of the stitch pattern itself — no additional edging needed.
Worn draped over the head and tied at the nape of the neck, this bandana is equally at home on a summer walk through the woods, at a farmers market, woven into a boho bridal look, or styled with a simple white linen dress for that effortless cottagecore aesthetic that never goes out of fashion.
This is not a beginner pattern — the leaf lace stitch requires attention and a willingness to learn a new technique. But every crocheter who pushes through that first learning row will find the stitch becomes beautifully rhythmic and deeply satisfying within just a few repeats.
Frequently Asked Questions
Is this bandana pattern beginner friendly?
This pattern is rated intermediate to advanced, primarily because of the leaf lace stitch itself. The stitch creates dimensional, raised leaf shapes using a combination of chain spaces, double crochets, and slip stitches that must be worked in a specific sequence. It is not complicated once learned, but it does require careful attention during the first two or three repeats. If you are comfortable with double crochet, chain spaces, and working into specific stitch positions, you will learn this pattern quickly. If this would be your first lace crochet project, working a small practice swatch first is strongly recommended.
What yarn works best for this leaf lace bandana?
Stitch definition is everything in a lace pattern, and stitch definition requires a yarn with some structure and smoothness. Plant fiber yarns — cotton, cotton-bamboo blends, bamboo-viscose, or Tencel blends — are ideal for this project. They have a natural sheen that highlights the leaf detail beautifully, they block well to open up the lacework, and they drape softly when worn. The tonal or variegated colorway is equally important — a yarn with gentle color shifts within a single green tonal range adds depth and dimension to the leaf motifs, making them look almost three-dimensional. Avoid fuzzy, textured, or bouclé yarns entirely — they will completely hide the lace detail.
How long does this bandana take to crochet?
Most intermediate–advanced crocheters complete this bandana in 8 to 12 hours. The learning curve of the leaf lace stitch accounts for the first 1 to 2 hours. Once the pattern is internalized — which happens surprisingly quickly — the remaining work moves at a comfortable, rhythmic pace. Plan for a long weekend project: a few hours on Saturday to learn the stitch and complete the first quarter, then a comfortable finish on Sunday.
What size will the finished bandana be?
The finished Leafling Bandana Scarf measures approximately 22 inches across the top straight edge and 12 inches deep at the center point, forming a triangle. This is a generous bandana size that sits beautifully on the head with good coverage and enough length on the two top corners to tie securely at the nape of the neck. It fits most adult head sizes comfortably. If you want a slightly wider or deeper bandana, you can add additional leaf repeat rows before beginning the decreases.
Does this bandana need to be blocked?
Yes — blocking is essential for this pattern and non-negotiable. The leaf lace stitch is worked relatively tightly during construction, and the lacework between the leaf motifs will not open up fully until the piece is wet blocked. Blocking transforms the finished bandana from a dense, slightly stiff fabric into a beautifully open, drapey lace piece where every leaf motif is clearly defined and the chain-space lacework breathes. Wet blocking this bandana takes approximately 15 minutes of hands-on time and makes an enormous difference in the finished result.
Materials Needed
The following materials are selected specifically for stitch definition, drape, and the best possible expression of the leaf lace pattern.
Yarn:
- Main Color (MC): Sage Green tonal DK weight yarn — approximately 250–300 yards. A cotton-bamboo blend, bamboo-viscose, or plant fiber DK in a softly variegated or tonal sage / moss / olive green colorway. Paintbox Simply DK in a sage tonal, Cascade Ultra Pima in sage, or an indie-dyed DK in a green tonal colorway are ideal. The variegation should be subtle — long color runs that shift gently rather than sharp striping.
Tools and Notions:
- 3.5 mm (E/4) crochet hook — a steel or aluminum hook with a comfortable grip is recommended; the tight stitch definition required for lace benefits from a smooth, precise hook tip
- Scissors
- Tapestry needle — for weaving in all ends neatly
- Stitch markers — to mark pattern repeat boundaries, especially while learning the leaf stitch
- Measuring tape — to check dimensions
- Blocking mat and T-pins — for wet blocking the finished bandana (essential)
- Spray bottle — for wet blocking
Why plant fiber yarn? Plant fibers — cotton, bamboo, Tencel — have natural structure and a subtle sheen that shows lace stitches with exceptional clarity. They also have a gentle weight that helps the finished bandana drape softly on the head rather than sitting stiffly. Wool is not recommended for a head bandana worn in warmer weather; cotton-bamboo blends are the ideal choice for both aesthetics and wearability.
Skill Level
Skill Level: Intermediate–Advanced Stitches Used: Chain (ch), Slip stitch (sl st), Single crochet (sc), Double crochet (dc), Treble crochet (tr), Chain spaces (ch-sp), Leaf lace motif (explained step by step) Estimated Time: 8–12 hours Finished Dimensions: Approximately 22 inches wide × 12 inches deep at center triangle point
Step-by-Step Tutorial
Step 1: Understand the Leaf Lace Stitch — Practice First
Before beginning the full bandana, work a practice swatch of the leaf lace stitch. This investment of 20 to 30 minutes will make the entire project significantly more enjoyable.
The leaf lace motif is worked in a repeating sequence that creates one raised leaf shape surrounded by open chain space lacework. Each leaf has a central spine of double crochet stitches flanked by decreasing clusters on each side, mimicking the vein structure of a real leaf. The open spaces between leaves are formed by chain arches worked between motifs.
Basic leaf motif (practice version): Foundation: Chain 20. Row 1: Dc in 4th ch from hook, dc in next 2 ch, *ch 3, skip 3 ch, dc in next 4 ch* repeat across. Turn. Row 2: Ch 3, *work leaf motif into the ch-3 space: (dc, ch 1, dc, ch 1, dc) into ch-sp, ch 2* repeat across, end with dc in turning ch. Turn. Row 3: Ch 1, sc in first dc, *ch 3, skip to center dc of leaf, sc in center, ch 3, sc in ch-2 space* repeat. Turn.
Practice this 3-row leaf repeat until the rhythm feels natural before beginning the full pattern. The leaf shapes will become clear within the first 2 to 3 complete repeats.
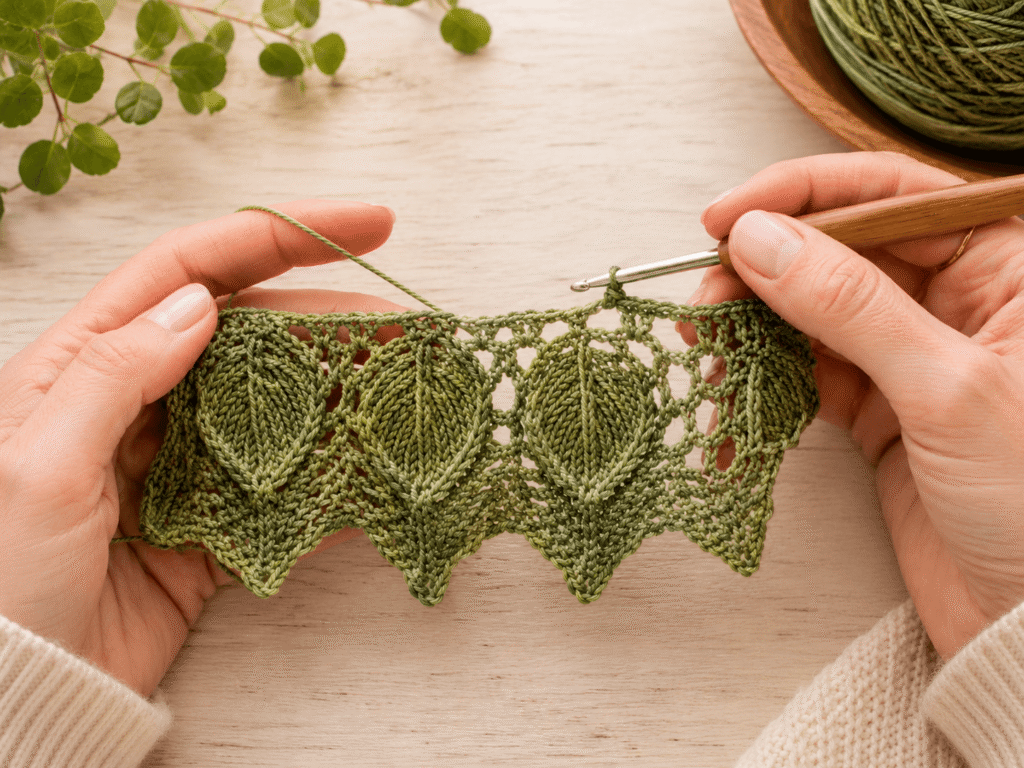
Step 2: Create the Foundation and Work the First Leaf Rows
The Leafling Bandana is worked from the top straight edge downward, with leaves building from the top and the piece tapering to a natural center point at the bottom hem.
Using your Sage Green tonal DK yarn and your 3.5 mm hook, chain 133 (or a multiple of 12 + 1 for your desired width). This foundation chain sets the full width of the bandana — approximately 22 inches.
Setup Row: Sc in 2nd chain from hook and in each chain across. (132 sc). Chain 3, turn. This creates a clean, firm top edge.
Row 1 (Leaf setup): Dc in first 4 stitches, *ch 3, skip 3 stitches, dc in next 4 stitches* repeat across. Chain 3, turn.
Row 2 (Leaf body): Work the leaf motif into each ch-3 space across — (2 dc, ch 1, 2 dc) into each ch-3 space, separated by ch-2 bridges between each leaf. End with dc into turning chain. Chain 1, turn.
Row 3 (Leaf spine): Sc in first st, *ch 3, sc into the ch-1 center of the leaf motif, ch 3, sc into ch-2 bridge between leaves* repeat across. Chain 3, turn.
These three rows form one complete leaf repeat. The Sage Green tonal shifts between moss and golden green will already be producing beautiful natural color variation across the leaf shapes at this stage.
Step 3: Continue Leaf Repeats and Begin Triangle Shaping
Continue working the 3-row leaf repeat sequence, but beginning at Row 4, introduce gradual decreases at each end of every third row to create the triangular shaping that gives the bandana its pointed center bottom.
Decrease method: At the beginning of each decrease row, work a slip stitch across the first 3 stitches before beginning the pattern. At the end of the same row, stop 3 stitches before the end and turn. This removes one leaf repeat from each side over every 3 rows, creating the clean angled edges of the bandana triangle.
Continue the 3-row leaf repeat with end decreases for approximately 8 to 10 full leaf repeat sets, or until your bandana measures approximately 10 inches deep at the center point. The Sage Green tonal colorway will continue to shift subtly across the leaf motifs as you work, adding natural depth and dimension.
Check your work from the front after every 3 rows. The leaf shapes should be clearly defined, with open chain-space lacework visible between each motif.
Step 4: Work the Final Point and Leaf Hem Edge
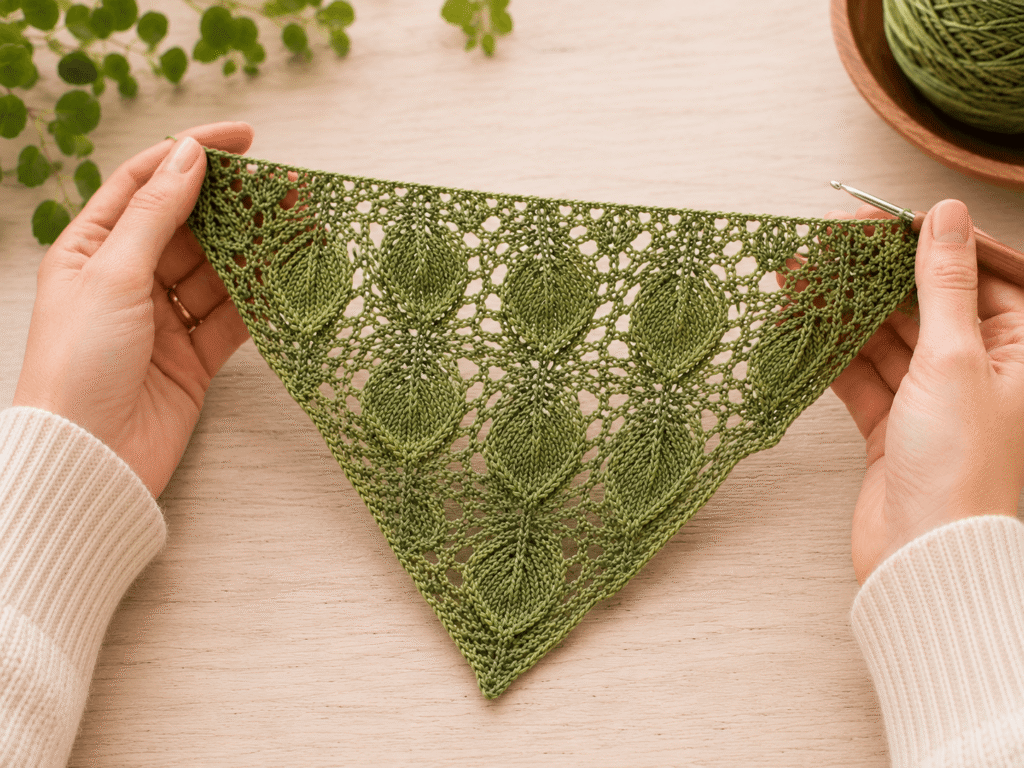
Continue working the 3-row leaf repeat with decreases at both ends until you have reduced to a single leaf motif at the center — this is the tip point of the bandana triangle. Work the final leaf motif at the center point and fasten off, leaving a 6-inch tail.
Leaf point hem edge: The natural bottom edge of the finished bandana follows the points of the leaf motifs themselves, creating an organic, scalloped leaf-point hem that requires no additional edging. This is one of the most distinctive features of this pattern — the hem silhouette mirrors the leaf shapes throughout the fabric.
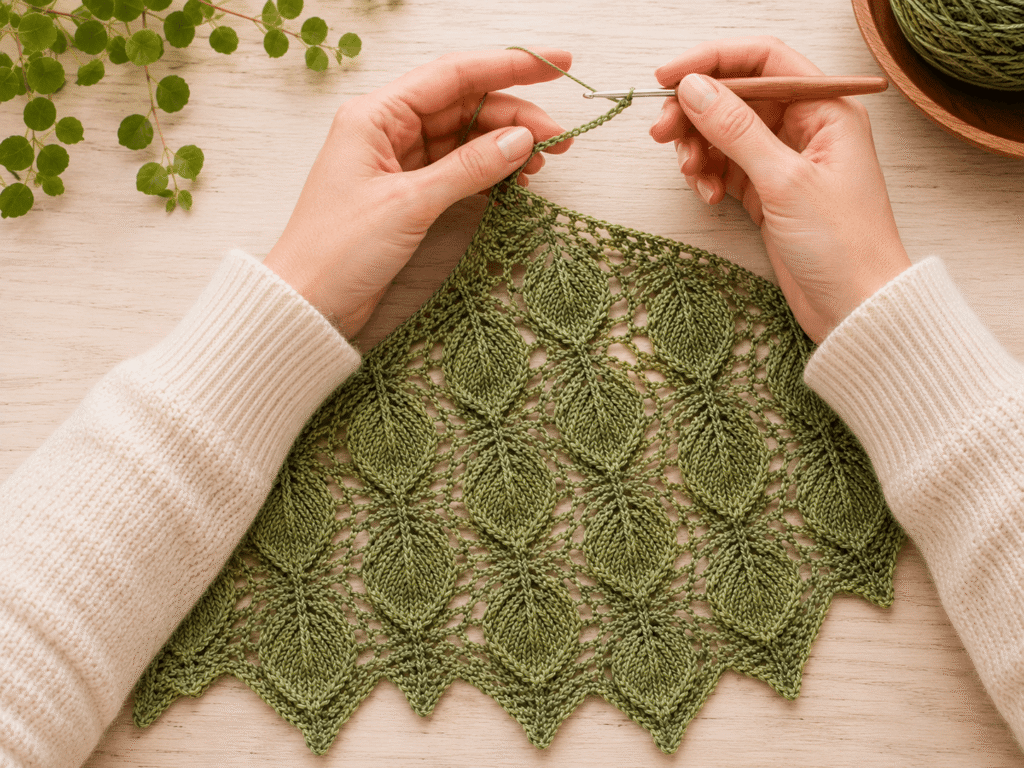
If you wish to reinforce and define the hem edge more clearly, work one round of slip stitch along the two angled side edges and the natural leaf-point lower edge, working into each available stitch or chain space. This adds a subtle definition without changing the organic silhouette.
Step 5: Work the Tie Extensions
The two top corners of the bandana need to be extended into ties long enough to wrap around the head and tie at the nape of the neck.
Tie method: At each top corner of the bandana, attach your Sage Green yarn and chain 60 to 70 stitches for each tie. Work 2 rows of sc back across the chain to create a flat, double-thickness tie. Fasten off and weave in ends.
Alternatively, cut two lengths of Sage Green yarn approximately 30 inches each, fold in half, and attach them at each corner with a lark’s head knot, then braid or twist the strands into a rounded cord tie. The braided cord gives a more refined, finished look.
Both tie methods work well. Choose based on the look you prefer for the finished bandana.
Step 6: Block the Finished Bandana
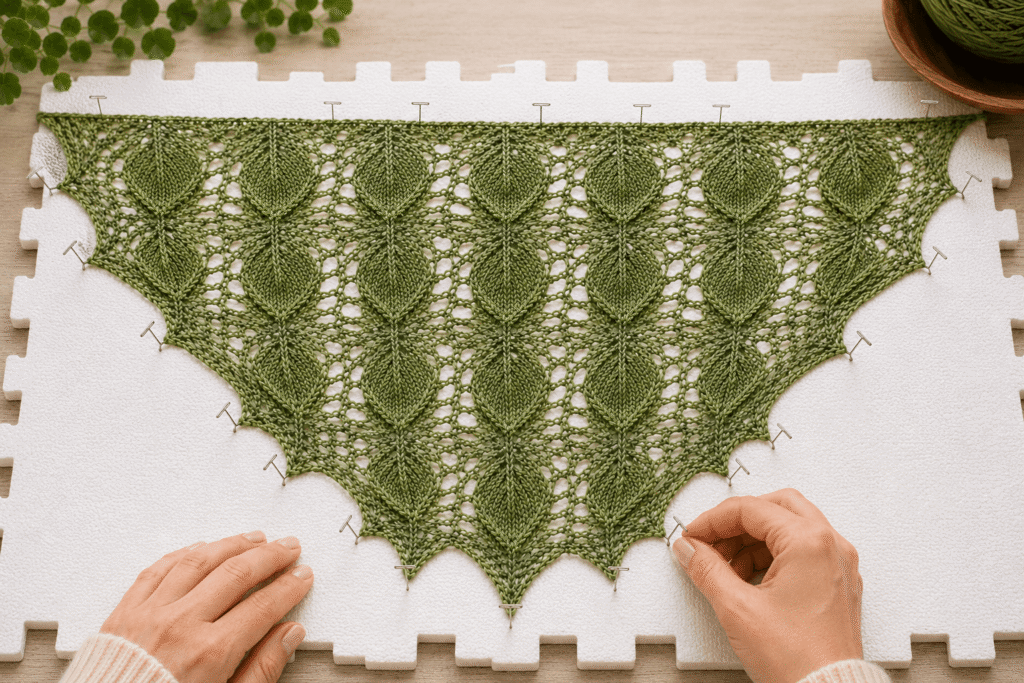
Blocking the Leafling Bandana is the step that transforms it from a beautiful-but-stiff lace fabric into the open, drapey, magazine-worthy accessory you see in the reference image.
Wet blocking method: Submerge the finished bandana in cool water for 10 minutes. Gently squeeze out the water without wringing. Lay flat on a blocking mat. Smooth the bandana into its full triangular dimensions — 22 inches across the top, 12 inches deep at the center point. Use T-pins to anchor the two top corners and the center bottom point, then pin along both angled side edges at 1-inch intervals, gently stretching the fabric open. Pin the leaf-point hem points individually, pulling each point to its full definition.
Allow to dry completely flat — usually 12 to 24 hours depending on the fiber content. Plant fiber yarns (cotton-bamboo) dry faster than wool blends.
Once fully dry and unpinned, the leaf lace motifs will be dramatically more open, the chain-space lacework will breathe beautifully, and every leaf point on the hem edge will be crisp and defined.
Helpful Tips
- Work a gauge swatch and a stitch practice swatch. For a wearable accessory like a bandana, gauge matters for fit. Work at least a 4-inch square swatch in the leaf lace stitch and measure your gauge before beginning the full pattern. Adjust your hook size up or down one size if needed to match the recommended gauge.
- Use stitch markers to mark every leaf repeat boundary. When learning the leaf lace stitch, placing a stitch marker at the beginning of each leaf repeat keeps you from losing your place. Remove and replace markers as you go rather than working around them.
- Count your stitches after every setup and decrease row. The triangular shaping requires precise decreasing at both ends. An incorrect decrease can throw off the leaf repeat alignment for multiple rows. Count carefully after every decrease row before continuing.
- Choose a yarn with gentle, long-run variegation. Short-repeat or high-contrast variegated yarn will produce a speckled, busy look that fights with the leaf lace detail. A tonal colorway with long, gentle shifts — like the Sage Green tonal in the reference image — allows the leaf shapes to read clearly while still adding beautiful color depth.
- Block firmly and generously. The leaf lace stitch rewards aggressive blocking. Do not be afraid to stretch the fabric significantly — plant fiber yarns have the elasticity to open beautifully under blocking and will retain their shape once dry. A timidly blocked lace piece never reaches its full potential.
Common Mistakes to Avoid
- Skipping the practice swatch. The leaf lace stitch has a specific rhythm that takes a short time to internalize. Jumping directly into the full bandana without practicing means you will be learning on the actual piece, which leads to tension inconsistencies in the early rows that will be visible in the finished bandana. The 20-minute practice investment always pays off.
- Working the leaf motif into the wrong position. The leaf motif must be worked into the chain space of the previous row — not into the dc stitches. Working into the wrong position collapses the motif and ruins the leaf shape. Read each row carefully and confirm your hook position before working each motif.
- Inconsistent tension between leaf rows and bridge rows. Many crocheters naturally work their chain spaces more loosely than their dc stitches. Consciously maintain even tension throughout, especially in the chain arches between leaf motifs, which form the open lacework visible in the finished piece.
- Cutting ties too short. The ties need to be long enough to wrap around the head and tie at the nape of the neck with a comfortable bow. Ties shorter than 25 to 28 inches will be too tight for most adult head sizes. Err on the longer side — ties can always be trimmed, but they cannot be extended once finished.
- Blocking too quickly or too lightly. Rushing the blocking process — using too little water, too few pins, or removing pins before the piece is completely dry — results in a bandana that rebounds to its pre-blocking shape. Patience during blocking is rewarded with a result that looks professional and polished.

Final Thoughts
The Leafling Bandana Scarf is the kind of crochet project that marks a milestone. It is the piece you make when you are ready to push past the familiar and into the genuinely beautiful. The leaf lace stitch is a technique that will stay in your repertoire forever — once learned, it opens the door to shawls, wraps, cardigans, and any number of wearable lace projects. And the finished bandana? It is the kind of handmade accessory that people ask about everywhere you wear it.
Make it in sage green for yourself. Make it in dusty rose for a gift. Make it in deep teal for autumn. The Leafling is a pattern you will return to again and again.
Save This Pattern For Later
Obsessed with this leaf lace bandana? Pin it to your Crochet Hat & Accessories or Wearable Crochet Patterns board on Pinterest so you always have it when the mood for beautiful lace crochet strikes. Share it with any crocheter in your life who is ready for their next challenge — the Leafling is the perfect reward project.